How to Create a Project Timeline in 5 Easy Steps
The gist of a project manager’s job is to break down big, complicated projects into bite-sized goals. Then break down those bite-sized goals into even more bite-sized tasks.
While this sounds simple on paper, there are lots of ways for project plans to become convoluted, hard to follow, and ultimately unrealistic to achieve. A project timeline is a useful tool for project managers to keep project plans simple and achievable.
Let’s discuss what project timelines are, their benefits, and how to create them.
What is a project timeline?
A project timeline is a visual representation of tasks, milestones, and deadlines in the sequential order they must be accomplished over an entire project.
A timeline provides a bird’s eye view of a project’s lifecycle, enabling the project manager and team members to understand the order of activities, their duration, and how they connect — also known as their dependencies.
Pro tip: Learn more about visualizing project dependencies with this article on PERT charts.
Benefits of creating a strong project timeline
A well-constructed project timeline defines milestones and when team members should be working on specific project tasks. It ensures everyone knows exactly what they should be working on at all times during a project, allowing them to plan ahead and stay on track.
Improved project transparency and communication
For stakeholders, a project timeline enhances visibility into project progress. It’s a transparent, common reference point that keeps everyone informed of the project’s current status, next steps, and overall direction.
The benefit: since stakeholders are informed on project progress, your stakeholder meetings can be geared toward decision-making and corrective action on project issues, instead of being focused on status updates.
Better deadline management
Project timelines are also helpful for deadline management. They give team members a high-level overview of tasks, deliverables, and due dates so they can complete work on time. Additionally, a project management tool can show you resource commitments across projects, helping identify potential delays early so you can fix them.
Clarity when implementing change
As a project manager, how you go about change management can drastically affect the success of a project. How you communicate changes to team members is the difference between them having a sense of clear direction and the project feeling confusing and chaotic.
Timelines allow you to illustrate changes for your entire team and communicate them instantly, leaving nothing slipping through the cracks. That way, if responsibilities change or someone is suddenly unavailable, the team can reassign activities and keep a clear picture of how objectives will be met.
Different types of project timelines
Project timelines can be visualized in various formats, each suited to different project needs and management styles. Understanding them will help you choose the most appropriate way to map out your project.
Historical timeline
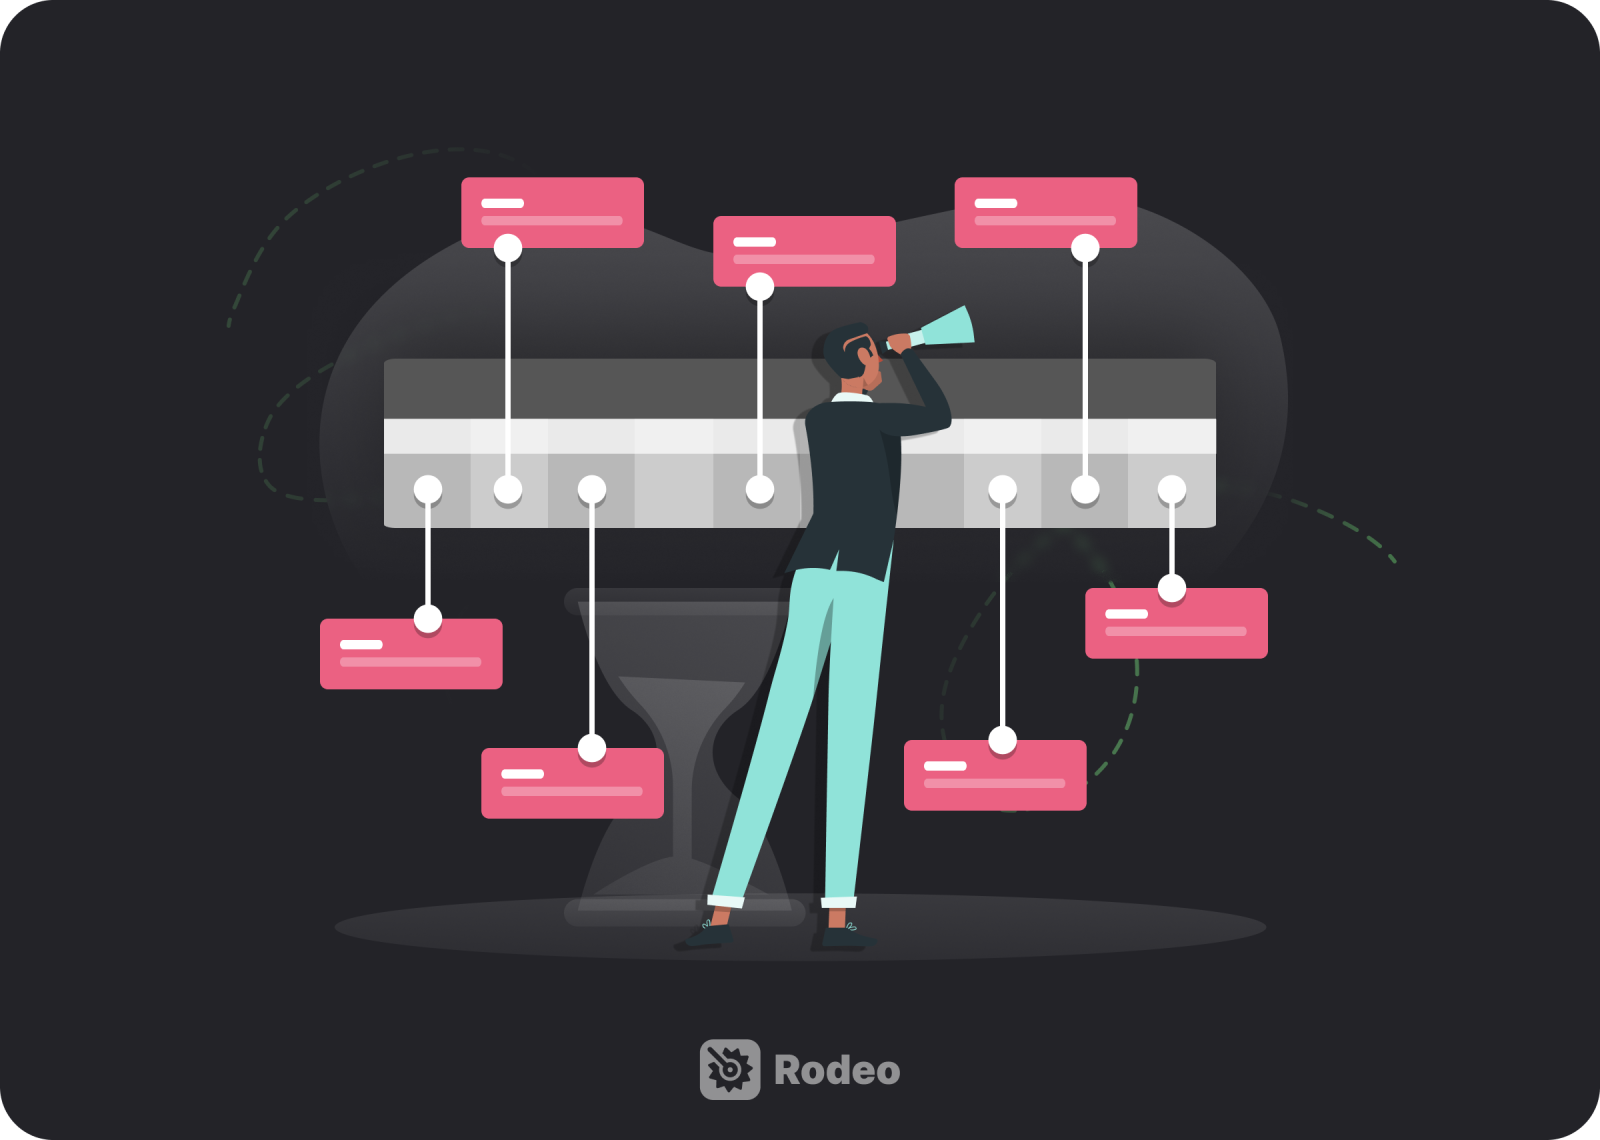
Historical timelines track and display past events or phases of a project, offering insights into the project’s evolution. Project teams can analyze historical timelines to identify successful strategies from past projects and avoid their pitfalls.
This kind of retrospective view is invaluable for long-term projects with multiple phases, or for organizations undertaking similar projects regularly.
Vertical chart timeline
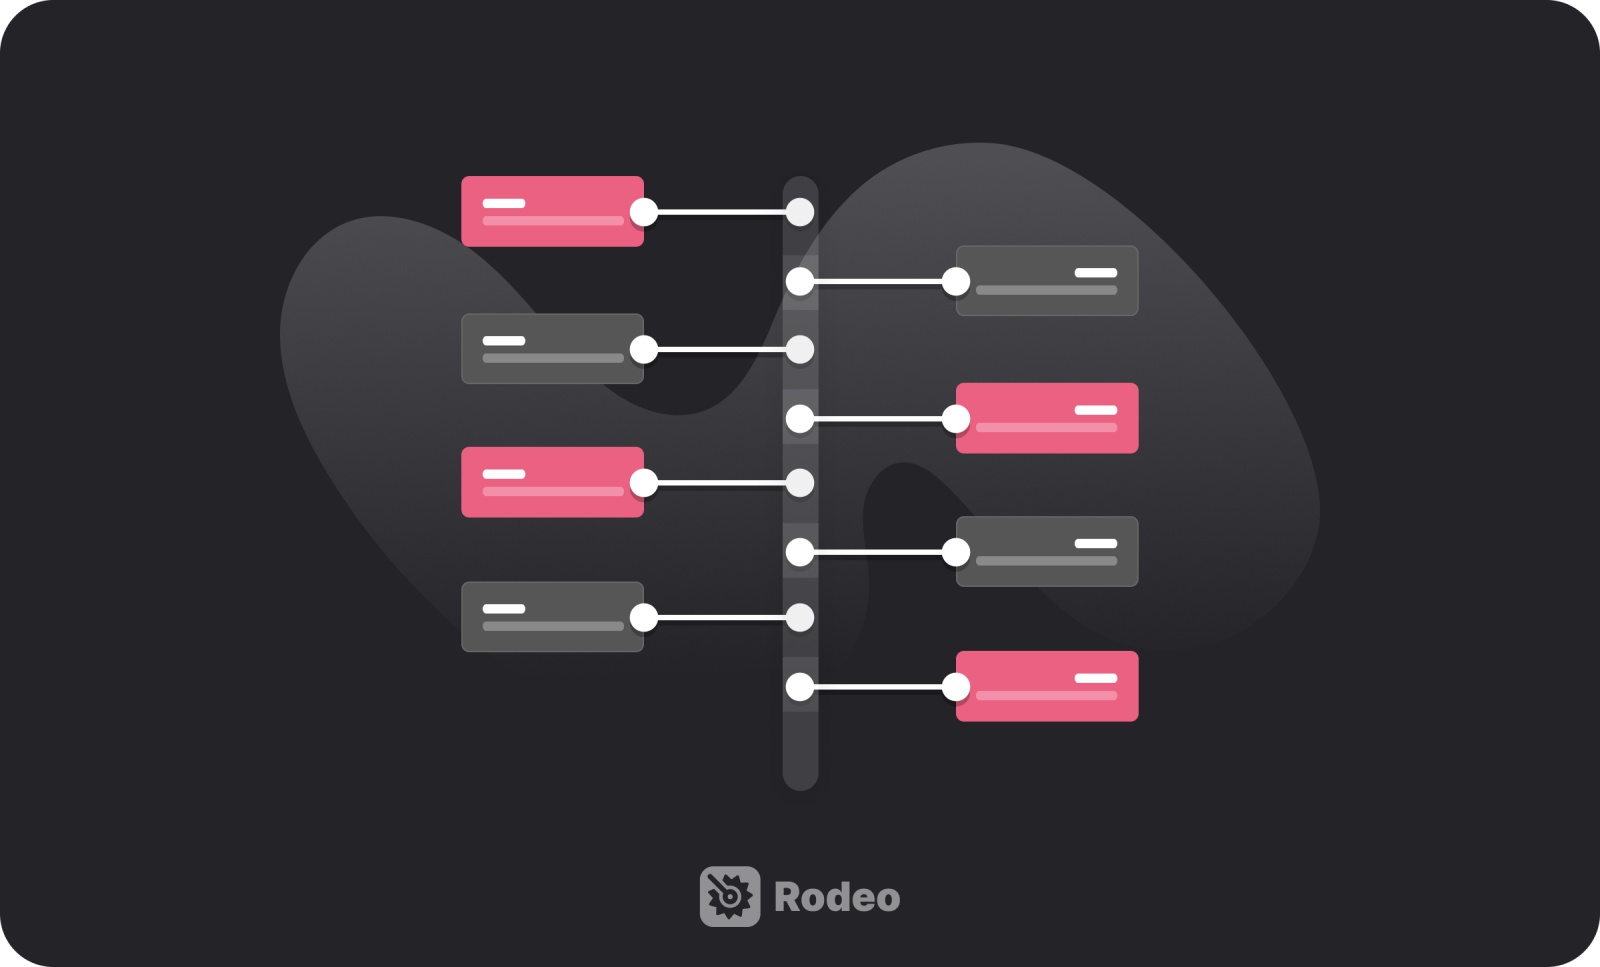
A vertical chart timeline sequentially organizes tasks and project milestones from top to bottom. This format is straightforward and intuitive, making it easy for team members to follow the project’s progress. It’s beneficial for visualizing a project plan made up of a linear sequence of tasks.
Gantt chart timeline

The Gantt chart is the most widely used timeline in project management. It represents tasks horizontally across a calendar, showing start and end dates, duration, and dependencies between tasks. Gantt charts are incredibly versatile, ideal for projects of any size, and help in managing resources, identifying critical paths, and tracking progress.
Related: Why Are Gantt Charts Useful in Project Management? A Guide for Beginners
Kanban timeline

The Kanban timeline focuses on workflow visualization. It outlines the specific tasks and processes that go into completing a project along with assignments for team members. Tasks are moved across columns representing different stages of the project.
Kanban boards can be more or less complex depending on what you need, but a basic one will have a “To do,” an “In Progress,” and a “Completed” column.
Related: Kanban vs. Scrum: Understanding the Key Differences
How to create a project timeline in 5 steps
Creating a project timeline might seem daunting at first, but breaking it down into manageable steps can simplify the process. Here’s how you can build an effective timeline that ensures your project stays on track and within scope.
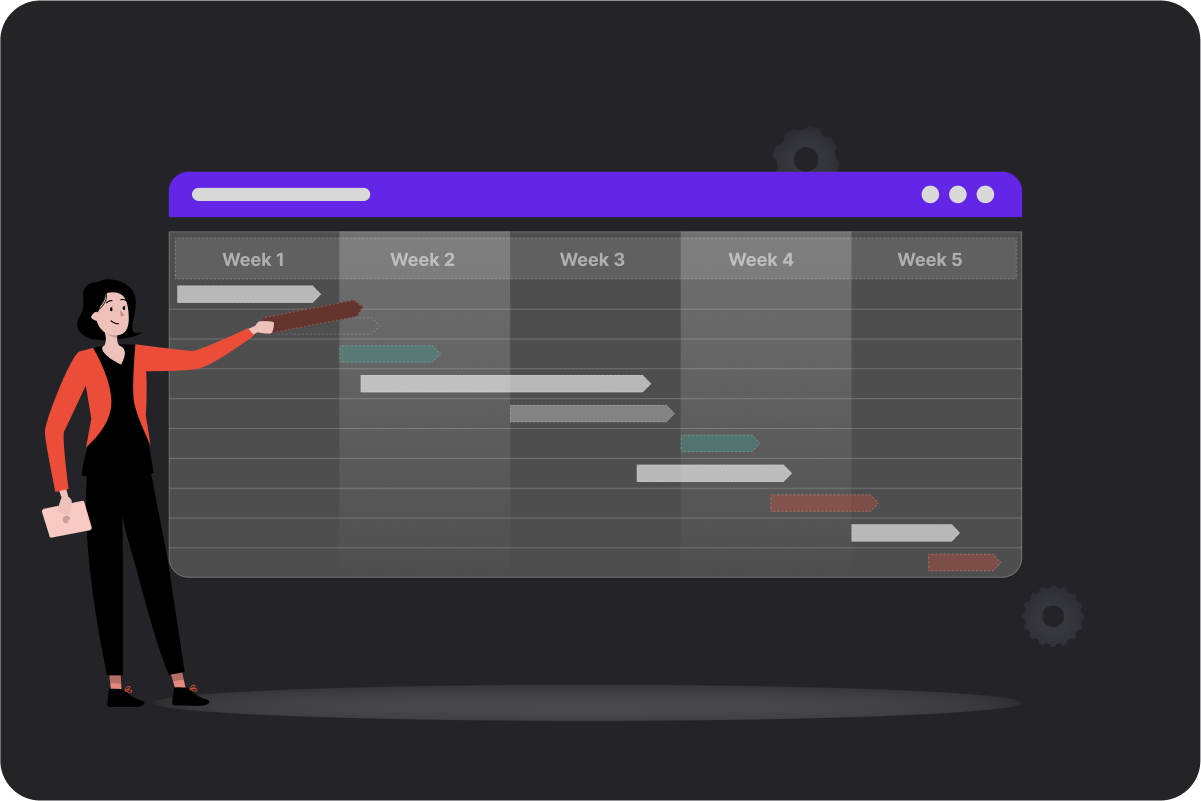
Step 1: Define your project scope and objectives
Before you chart a course, you need to know your destination. Begin by clearly defining the project scope and objectives. What are you aiming to achieve? What are the deliverables? Understanding these elements is crucial as they will guide the tasks you need to accomplish and the milestones you set. Engage with your team and stakeholders during this phase so everyone’s on the same page.
A project scope statement should include:
- A description of tasks that must be completed to reach key deliverables
- The expected duration of each task
- The resources needed to complete those tasks within their duration
Tip: Create a project charter that summarizes the project's scope, objectives, and stakeholders for easier project planning.
Step 2: Break down the project into tasks and subtasks
With your objectives in place, the next step is to divide the project into manageable tasks and subtasks. This breakdown makes the project more digestible and helps identify all the necessary steps to achieve your project objectives. Each task should have a clear output and be assignable to a team member.
One way to do this is by dividing the project into phases. For a video production shoot, it could look something like:
- Concept development
- Pre-production
- Video shoot
- Post-production
You can then break each phase down further into tasks, sub-tasks, and assignees.
Step 3: Estimate duration and assign resources
Now, estimate how long each task should take to complete and assign the necessary resources. Determine exactly what skills, materials, and budget are required for each phase of the project.
Try to be realistic with your estimates and consider historical data from similar projects to guide your planning.
Step 4: Choose the format for your project timeline
Choose a visualization for your timeline that best fits your project (Gantt chart, Kanban, etc). Think about your tasks, dependencies, and how you’ll need to assign resources. Then pinpoint what format fits best. Be sure to consider any risks associated with your project assumptions and the type of format that is easiest to adjust in light of those potential risks.
Mapping out dependencies here is useful because it helps you identify which tasks can be worked on simultaneously, and which need to be completed for others to start. Planning with this in mind lets you maximize your team’s outputs within the project’s time constraints.
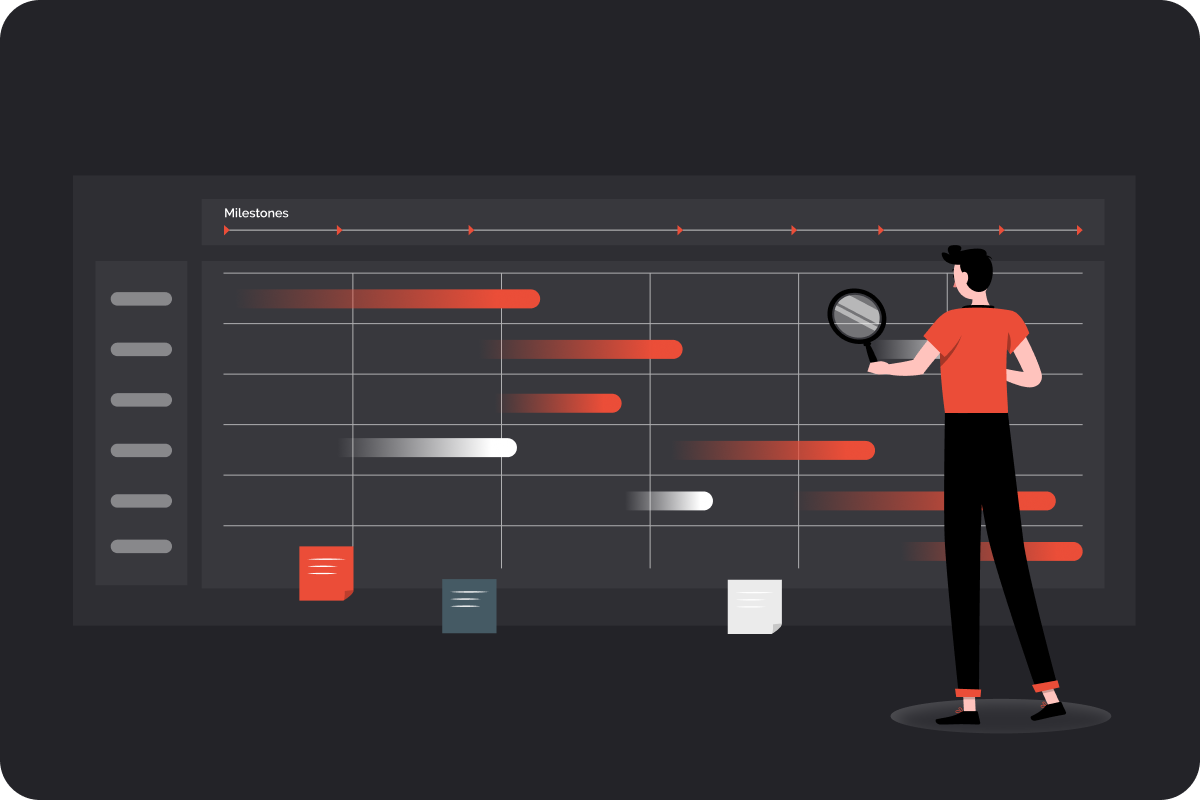
Step 5: Use project management tools
To get the most efficiency and oversight on your timelines, integrating project management software into your planning process is invaluable. Using a digital solution makes accessing the timeline easier for everyone on your team. Adjustments can be made instantly and communicated without putting more meetings on everyone’s calendars.
Rodeo Drive — a project management tool built with the needs of creatives in mind — offers comprehensive features tailored to managing project timelines. With Rodeo Drive’s planning tools, you can easily assign resources, build timelines, and avoid scheduling conflicts between overlapping projects.
Here’s a closer look at what Rodeo Drive has to offer project managers who are looking to properly manage their project timelines:
Timeline-view planner
Using Rodeo Drive’s timeline-view planner, you can plan out and see all your project timelines at a glance. The interface is easy to use, with a simple drag-and-drop functionality that allows you to adjust timelines and add new activities in just a few clicks.
This allows you to oversee multiple projects at once to identify overlaps or narrow down to a singular project view for more focused work. These features allow you to build realistic, detailed timelines quickly so your team can deliver key deliverables on time.
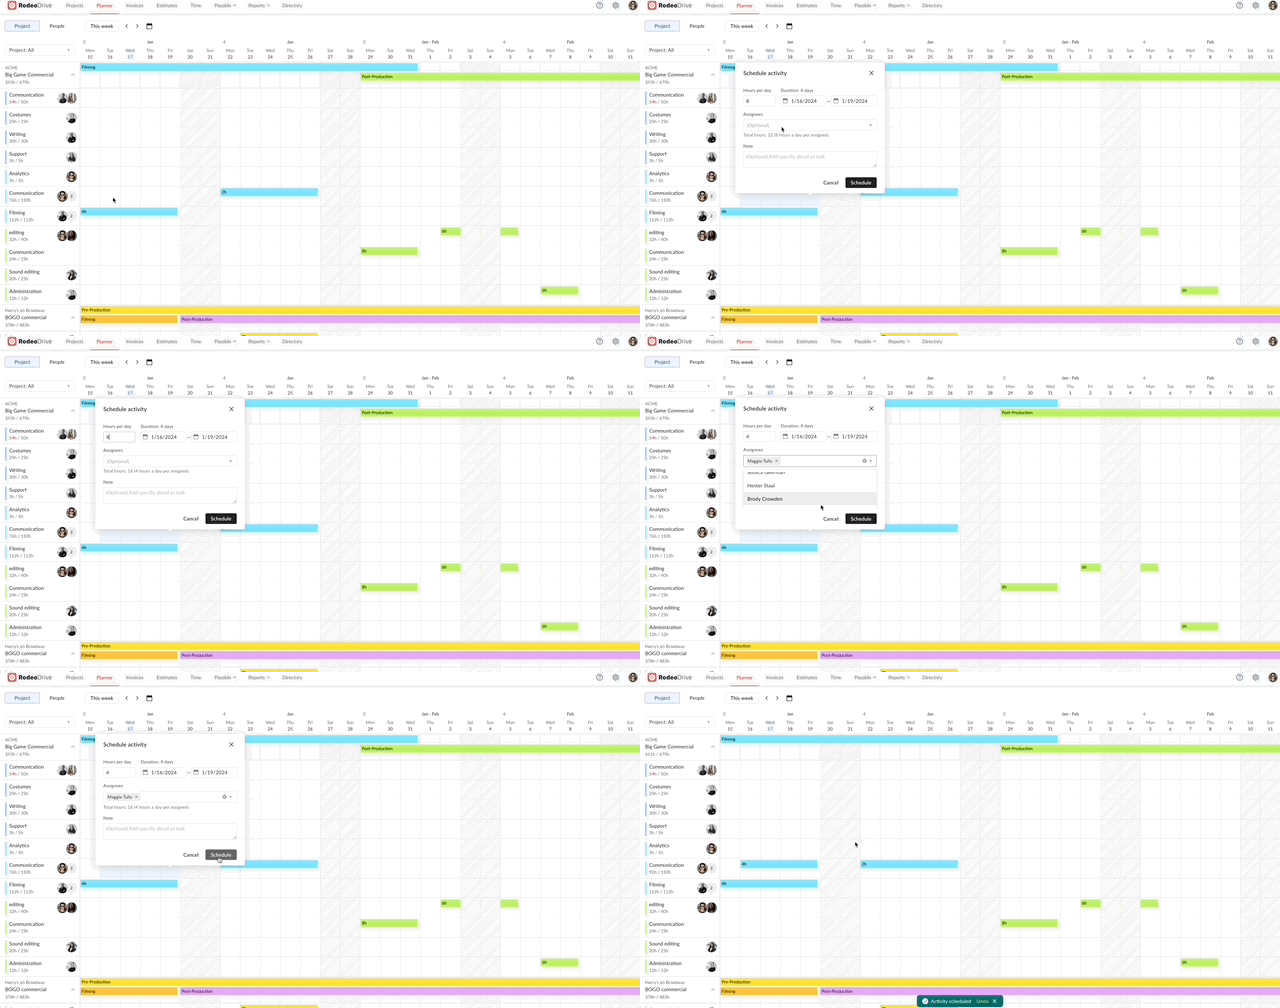
Add project activities in a few clicks using Rodeo Drive’s planner
Rodeo Drive also offers a people-view planner feature, which is designed to help project leaders intelligently manage team capacity without adding more work to their plate.
Through simple, visual indicators you can understand the workload of your team members on a granular, day-to-day basis. If a team member’s time is fully allocated for a particular day, the people view will indicate this with a green checkmark. If they have availability, the amount of hours they have scheduled will appear in plain text. Finally, if they are overbooked, their hours will appear in red.
Using the people-view feature, you can balance your team’s workload and prevent burnout.
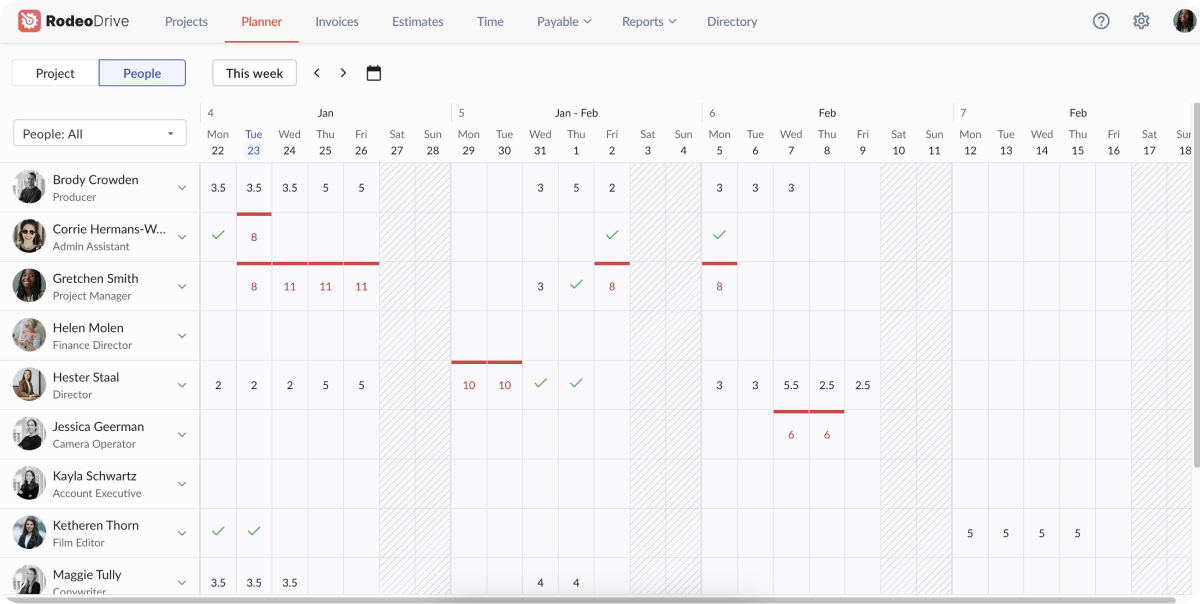
Manage capacity through Rodeo Drive’s unique people-planner view
Time tracking
In addition to building timelines, you can use Rodeo Drive to optimize your team’s time management once the project kicks off.
In Rodeo Drive, you can either track time live or log time once tasks are completed. These entries are connected to your project’s budget and the reporting features in Rodeo Drive. This means as your team logs billable hours, your budget actuals update to reflect the cost of their time, letting you invoice clients accurately and add markups where needed for profitably.
As an added bonus, having your budget connected to time tracking helps with identifying overspending and mitigating it before it negatively impacts your project margins.
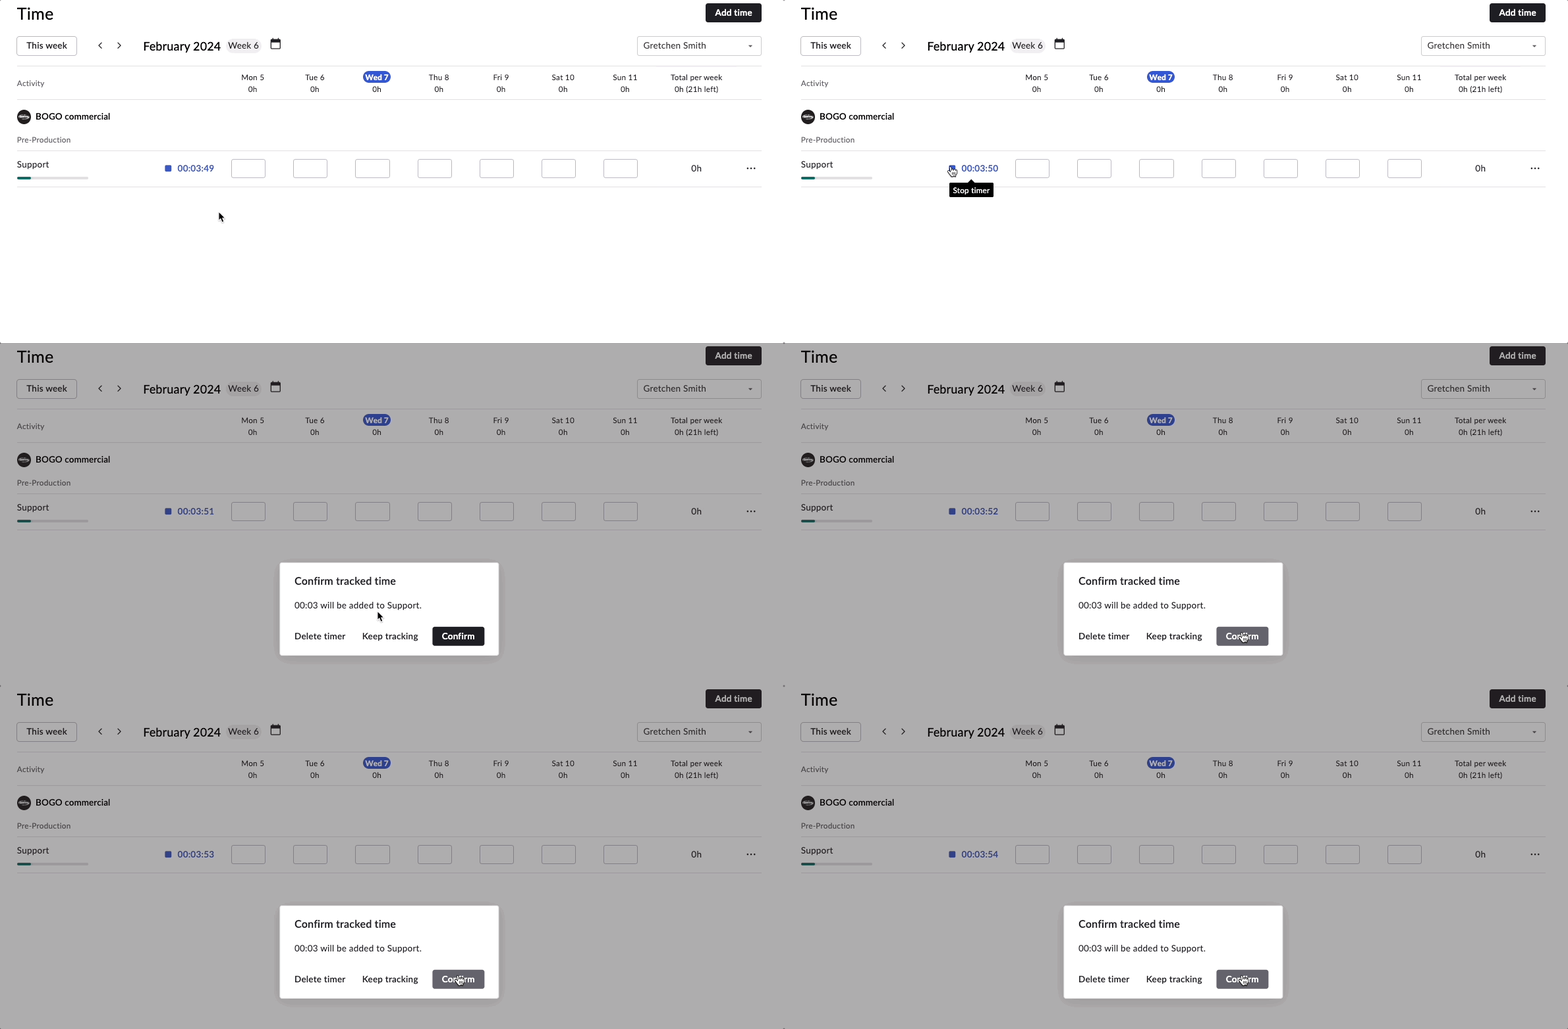
Use the live timer to track billable hours as your team works, or log hours after the fact
Start building realistic timelines for free with Rodeo Drive. Offer your team clarity and direction so that your projects can achieve meaningful success.


