Your Guide to Creating a Risk Register for Projects
Risk management is an important part of project management, but it often gets lost among all of the other responsibilities that fall on the project manager’s plate.
One of the easiest ways to organize your risk management process is by creating a project risk register to identify potential risks and devise a response plan for each. This way, you’ll retain a firm grasp on the potential issues that may otherwise derail your project.
In this article, we’ll walk you through when to implement a risk management plan, what should go into your risk register, along with an example to illustrate what it should look like.
What’s a risk register?
Think of a risk register as a document that acts as a way to log the status of each of your project risks, including the severity, likelihood, and the priority level of each.
With all of your risks properly organized in a single document, your entire team can quickly understand the details of each risk, making the process of tracking each risk significantly easier.

When and why to implement a risk register
Creating a risk register should be one of the first risk management steps you take to set your team up for success.
In general, your risk management should start as soon as your project planning is underway, either in the planning phase or early on in the execution stage. Getting your risk register organized sooner rather than later makes risk tracking significantly easier. From there, you’ll need to continue updating your risk register document as your project unfolds.
A risk register should be used in any project, regardless of its size. While the components of a risk register for a large project may differ from that of a smaller project, it’s still important to have a list of potential risks to keep an eye on.
Or, if there are already risks looming before your project has even started, then a risk register is almost certainly a good idea. Here’s a list of some of the most common project risks to be aware of:
- Overspending beyond your approved project budget.
- Scope creep, which is when project requirements expand beyond what was initially agreed upon.
- Changes to your project team, such as management transitions, that will require workflow modifications or introduce distractions.
- Having access to insufficient resources, such as limited time, budget, skill sets, or materials.
- Overly ambitious deadlines that are difficult to meet with the number of tasks on your team’s plate.
- External influences, which are the most unpredictable and difficult to control for. This includes things like natural disasters, illnesses, labor strikes, or changing government regulations.
- Miscommunications that cause confusion regarding project status or work assignments.
Benefits of using a risk register
We get it — a risk register is just one of many documents that you’re told to create when beginning a new project. With so much else on your plate, you’re probably wondering if this is really necessary.
Let’s take a look at the benefits of risk registers so you can make an informed decision on whether making one is worth your time.
Paves the way for contingency planning
Your project contingency plan serves as a plan B that guides you through what to do if a worst-case scenario occurs at some point in the project lifecycle.
The idea is that contingency planning allows you to react faster during times of uncertainty, mitigating potential damage to keep your projects on track.
But, without clear documentation of the risks that pose a threat to your project, it’ll be tough to develop a contingency plan for each. Your risk register provides a centralized record of your most prominent risks so that you can create contingency plans for each.
Prevents risks from getting lost in the shuffle
Once again, project documentation is key to staying organized. Laying out all of the details of each risk in your risk register prevents anything from getting overlooked.
Not to mention, when you assign responsibility of each risk to team members in your risk register, you can be sure that someone is monitoring that risk, that way you won’t be left scrambling if it suddenly materializes. Instead, you’ll always have someone keeping an eye on it.
Reassures the client that risks are being properly monitored
Severe risks have a high potential for derailing your project, which might be unsettling for your client or other stakeholders to hear.
But, by showing them a risk register containing a complete analysis of the threat alongside mitigation techniques and an ownership assignment, they’re more likely to feel assured that their project is in good hands.
Risk register vs. risk matrix
A risk register and a risk matrix are both important risk management documents, but they aren’t the same thing. That said, both serve to assess a project’s level of risk.
One of the key differences between them is that a risk matrix is a visual tool where each risk is mapped out in a grid format. A risk register, on the other hand, is more descriptive than visual, and is often set up in a spreadsheet format.
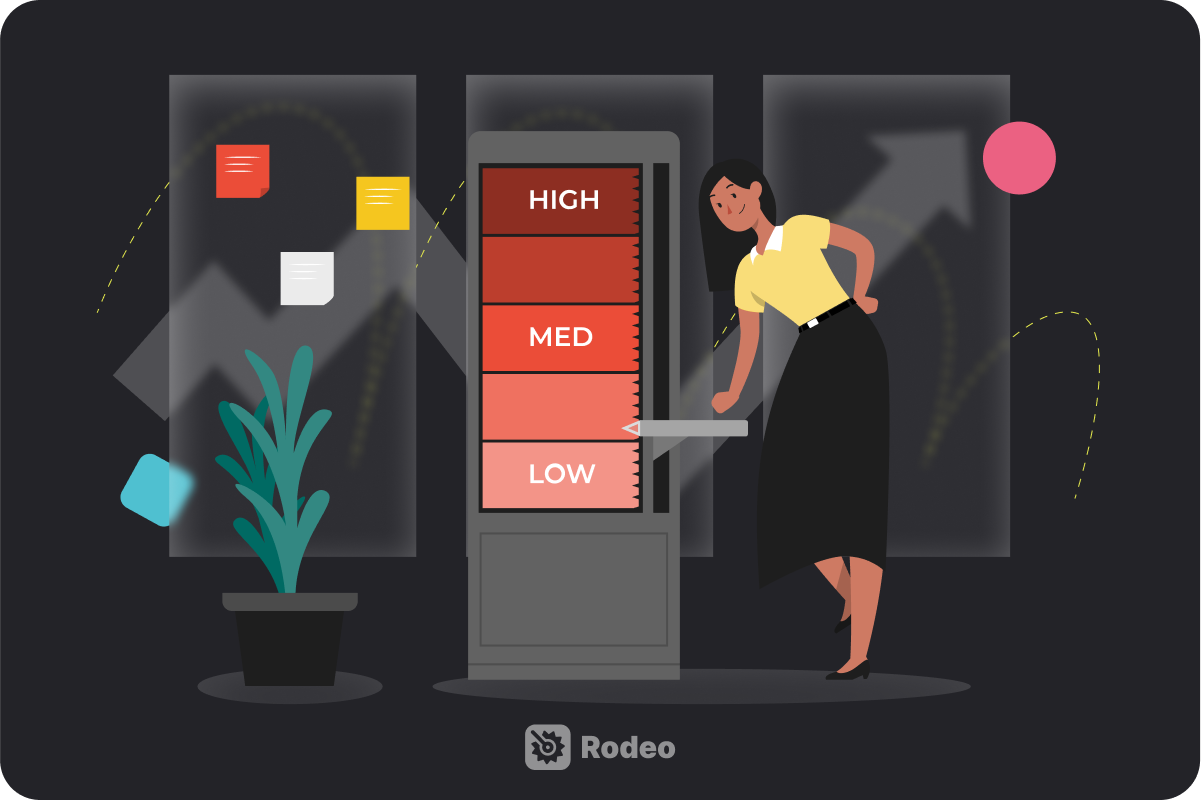
Using a risk matrix can be helpful when you need to quickly understand a risk’s likelihood, severity, and priority, as risks are mapped out and color-coordinated accordingly.
However, a risk matrix won’t replace the need for a risk register, as a risk register includes a lot more written information on the details of each risk for added context. The two documents can be used to complement each other.
.png)
What goes into a solid project risk register
As we mentioned above, the details you’ll want to include in your project risk register will depend on the level of risk management that your project requires. A small project might be fine with a few sections, whereas large projects might need all of the below components to be properly managed.
Here’s an overview of the sections that typically go into a basic risk register, and your team can pick and choose what to include accordingly.
1. Risk identification
When creating a risk register, you’ll first want to start by identifying the risk. This includes naming the risk and assigning it an ID number for easier tracking, along with a date.
When you check in on your risk register throughout the project, having this starting date will help you better understand how long mitigation processes have been in place and whether it’s still an active threat to project success.
If your project is large or if it involves an unusual amount of risk, you might want to incorporate an alphanumeric system for IDing the risks so you can better classify the types of risks. For example, perhaps you want to label scope-related risks with “S” before their number.

2. Risk description
The risk description serves to add context to the nature of the risk. There’s no need to go into detail here — simply provide a brief, high-level overview of the risk and why it poses a potential issue to the project.
The rest of your risk register will dive into the nitty gritty for each risk, so the description is primarily intended to help with the quick identification of the risk. The idea is that reading the risk ID and description should provide all the background someone needs to understand the basics of the risk.
3. Risk category
Risk categorization is an important step that informs the reader which parts of the project are impacted by this risk.
This is particularly important for larger project teams where work is segmented by subdivisions of the larger team. Without categorization, it’s unclear whose work is most impacted by this risk.
Your risk categories might include budget, operations, security, schedule, or quality-related risks. It’s also helpful to mark whether the risk is internal or external, as this can help the reader quickly understand whether a risk is within the team’s control.
4. Risk likelihood
If a risk is unlikely to occur, then it doesn’t make sense to devote a large amount of your team’s time to mitigating it.
This is why it’s a good idea to assign a likelihood to each risk in your register. You can label these risks however you choose, such as very likely, likely, or not likely.
5. Risk impact
This section should include a detailed analysis of what would happen to the project if the risk materializes. Generally, this section should answer the question: How severe is this risk?
Document how this risk would impact the scope, schedule, budget, or overall quality of the project in this section. There’s also a chance that a risk might have a positive impact on the project, creating new opportunities for the team to capitalize on. If so, be sure to mention that here too.
It’s also important to incorporate a scale in this section that clearly ranks the severity of each risk based on your analysis of its impact. Every risk is unique, so having a standardized way to compare them will be important when it comes time to prioritize. This scale can be labeled however your team sees fit, such as assigning each the label of low, medium, or high.

Note that this scale is not intended as a way to measure the risk’s priority level, which we will cover later on. Prioritization takes into account both the likelihood and severity. Here, we only want to consider the impacts to the project if the risk occurs.
It’s wise to think through this section early on in the risk register process, as you’ll want to reference it when working on other sections later on, namely the risk mitigation and prioritization sections.
6. Risk mitigation strategy
Your plan for risk mitigation is perhaps the most important part of your risk register since it outlines exactly how your team will lessen the likelihood and impact of each risk.
This section should answer the following questions:
- What specific actions will your team take to prevent this risk from coming to life?
- How much will these preventative actions cost, and does your team have a contingency budget in place to cover them?
- At what point will your contingency plans need to take effect if your mitigation efforts are unsuccessful?
7. Risk priority
Since a project is typically juggling multiple risks at once, proper risk prioritization is important in deciding which risks require the most immediate attention from your project team.
This determination should be carefully considered, as you’ll want to multiply the likelihood of the risk and the potential impact to properly assess which risks are most urgent.
Once you’ve completed this calculation, assigning each risk a number based on its priority is a wise next step. This might be on a five-scale, for example:
- Very low
- Low
- Medium
- High
- Very high
8. Risk owner
This part of the risk register is intended to prevent things from falling through the cracks by assigning a team member to monitor the risk status and oversee the mitigation deliverables. If anyone has a question about the risk, they know who to contact.
Some teams find it helpful to hold off on assigning risk ownership until a mitigation strategy has been developed and the risk has been properly prioritized. This way, it’s clear what the assigned team member is responsible for beforehand.

9. Risk status
The risk status section should come at the conclusion of your risk register, as it includes the latest information on where the risk is currently up to. If a risk has conclusively been avoided or if mitigation processes have been successful, this information should be shared here and continuously updated.
Typically, a risk would be designated as either open, in progress, or closed, although you could also opt to include more detailed information on the status of your mitigation activities here as well.
Risk register example
Wondering what all of this will look like in practice? Here’s an example of what you’ll want to include under each section of your project risk register. The following can also be used as a risk register template to make your planning easier:
Risk identification: Team Staffing Risk #TSR-001
Risk description: A key team member resigns unexpectedly during a critical project phase, causing delays and potential knowledge gaps.
Risk category: Human Resources
Risk likelihood: Not likely
Risk impact: High impact — If a key employee suddenly left the team, it could result in a two-month delay to the project timeline and would require a significant knowledge transfer to the new team.
Risk mitigation: Preventative strategies will include cross-training team members to have a basic understanding of each other’s roles and responsibilities, maintaining updated documentation and process manuals, identifying potential successors for key roles within the team, and conducting regular 1:1 check-ins to ensure job satisfaction among employees. These strategies will not require any additional budget inputs for successful implementation.
Risk priority: Medium
Risk owner: Jane Smith, Project Manager
Risk status: Open
Improve your risk management processes with Rodeo Drive
Once you have a risk register in place, monitoring your team’s progress is an important part of ensuring your risk management is successful. But, this type of monitoring can be extremely difficult without the help of a project management tool like Rodeo Drive.
Rodeo Drive offers all of the features that project managers need to make their projects a success — all in one place. This includes budgeting, time tracking, activity planning, invoicing, and reporting.
The platform’s budgeting and reporting tools are especially useful when it comes to risk management. Let’s take a look.
Budgets that automatically update in real-time
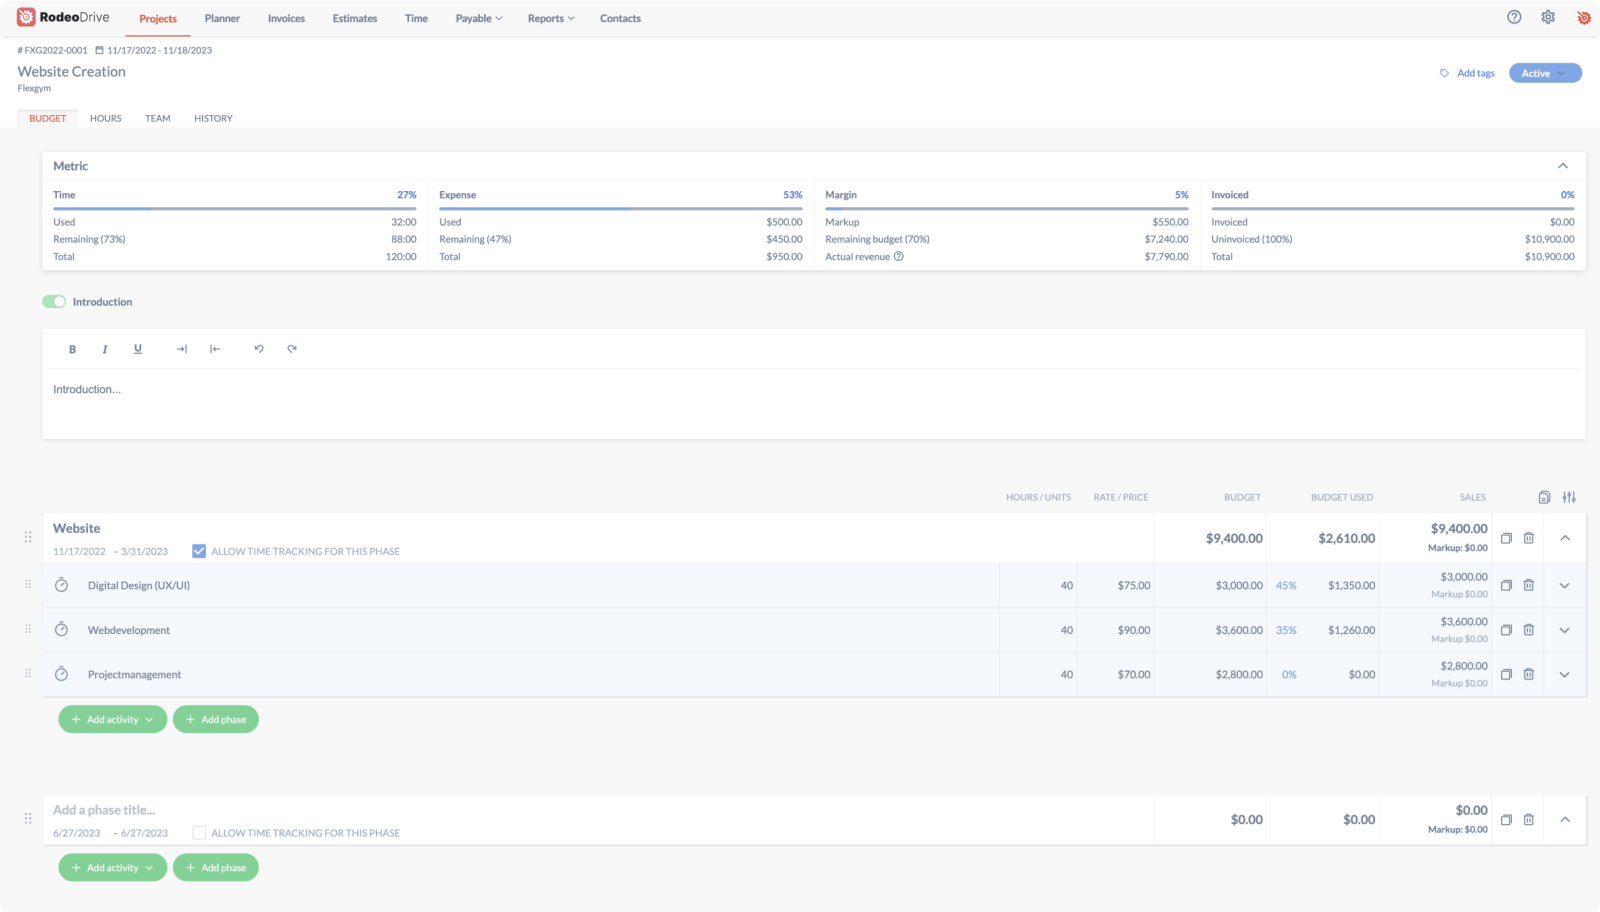
After you create a budget in Rodeo Drive, your project spending will be automatically reflected in your budget as your team works. This means that every time one of your team members tracks their time in the platform, the value of their time — based on the rate cards you enter — will show up in your budget.

This is particularly helpful for risk management, as these automatic budget updates make it easy to identify when overspending has occurred, and you can immediately see which project activity caused the spending issue.
From there, you can make adjustments to your budget to ensure that this over-expenditure doesn’t impact your team’s ability to stick within the project budget.
Automatically generated reports with project insights
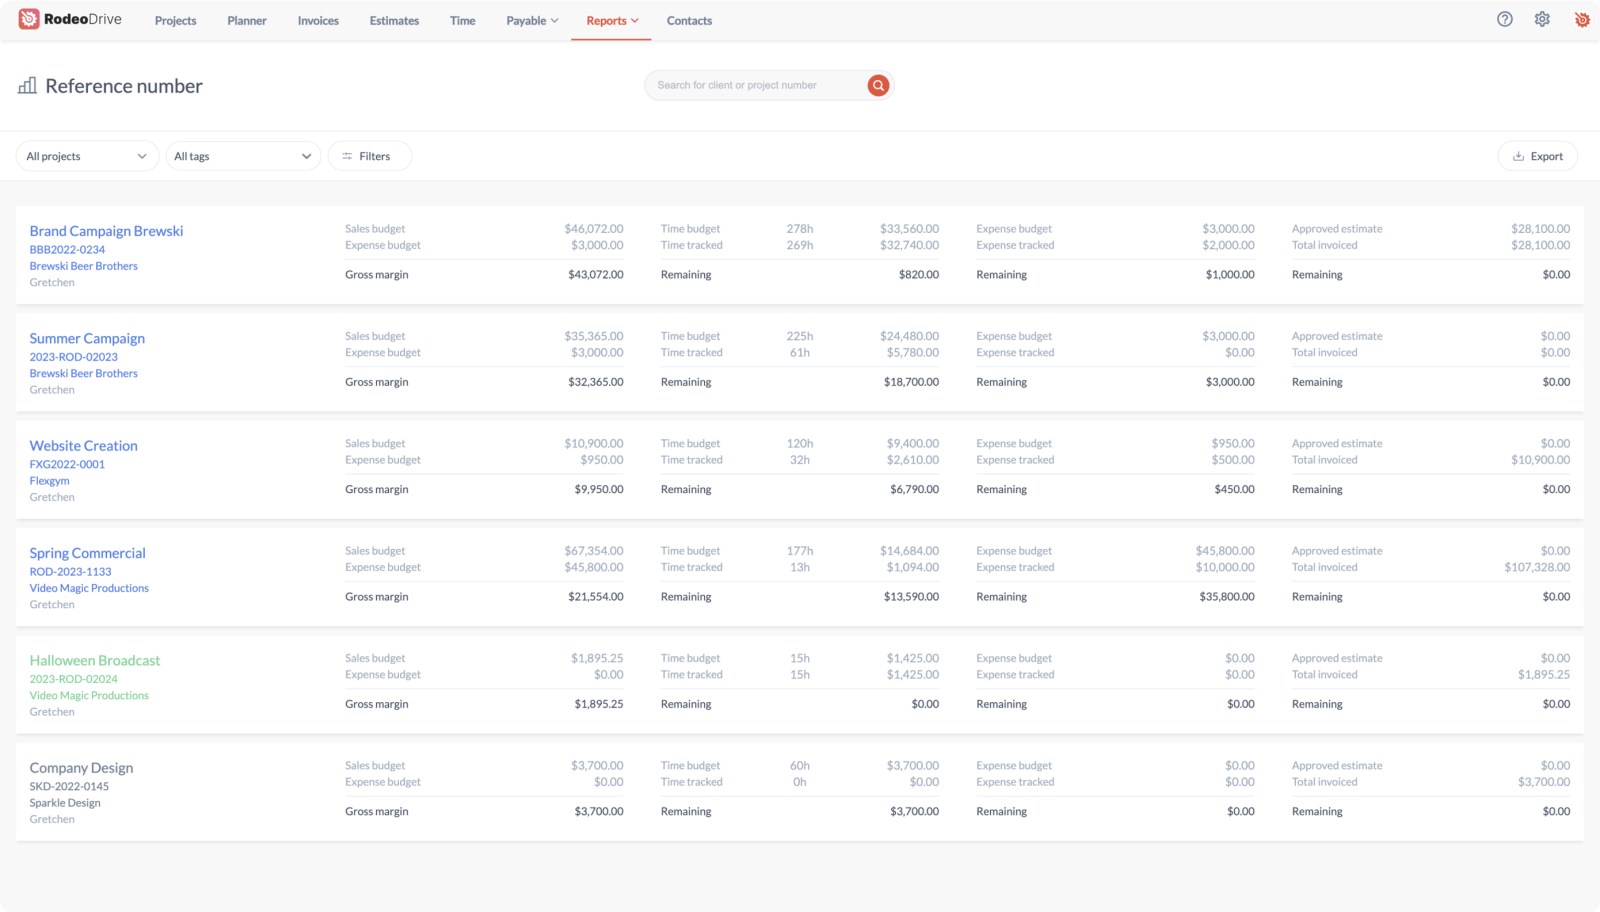
Reporting is at the heart of risk management, which is why Rodeo Drive offers three different automatically generated reports to bring you extra project insights. These three reports include a summary of time registration, project financials, and employee productivity.

Another benefit of Rodeo Drive’s reporting feature is that all of your team’s data can be exported as an Excel or CSV file. This way, if you need to create your own custom reports, you have the necessary data to do so.
Don’t just take our word for it, sign up for Rodeo Drive for free today to see how the platform can improve your risk management processes.


